Thursday, October 25, 2012

Update: 10/25/2012

So yesterday morning i woke up to this...


Canibeat

Which wasn't expected... but by far, made a shitty work day into a bearable one haha. This shot ended up fetching 9000+ likes! 

Anyways, thanks to canibeat, this shot blew up like crazy. Since then, they've asked me to do a full shoot of Daniel's car for their site so expect that to come soon. Let's hope winter blows over faster so we can shoot this and not have his car turn into a snow plow. 


OMG Pancakes

7Tune
I'm thinking of putting up a sample edit of how i did this shot, so stay tuned for that.

Farmofminds


Honda Fetish

Honda Tuning Magazine

I wouldn't have noticed half of these if it weren't for my friends Kaya and Errol so shout out to you guys. Thanks also goes out to Wilson and Daniel!

Hope you guys didn`t mind the half assed screen shots.. now back to studying. 

Thursday, October 18, 2012

Sample Edit 10/17/2012

HONDA INTEGRA TYPE R + K20 (iTR)
"K20 Powered"
So for those of you unfamiliar with off camera flash or just flash in general. This sample edit will show you guys what you can do with a few strobe shots and a bit of photoshop.

First things first... the setup. I couldn't find the best location (last minute, again), so i improvised and went with 2 flashes (YN-560) and a pair of radio triggers. For the setup, i had my Canon 40D + 24mm f/2.8 on a manfrotto tripod. Keep in mind, you WILL need a tripod if you chose to do it this way. Layout the shot and frame it before you even attempt shooting. Adjust your power for the flashes and light up parts of the car as we go along.

First portion to light up is the front end. The first frame was meant to light up the front and rims. Doesn't seem like much for now. Continue to shoot until you've got the whole car lit up (through multiple pictures of course).


1st shot - Front end and rims


2nd shot - interior


3rd shot - rims readjusted and shot again

From each shot i also was able to compile the wing as well.. one thing i forgot to do was to light the back. Make a shot with a rim light showing more details for the roof line and of course the wing.

NOTE - One thing that'll make shots better is the use of an umbrella. Yeah i know.. you're probably saying "duh" but it does soften the light quite a bit. As cheap and flimsy my own umbrella may be (for those of you that know) it does a damn good job!

Second step.. compile the layers in photoshop. Take what you need mask out what you don't need. From each photo i was able to stitch together the entire car. Make sure you align each picture up perfectly or else you're gonna have details popping out of somewhere it shouldn't be..


Red depicts the areas removed via masking - i know it looks terrible..

You can also get photoshop to do it for you (if your version is up to date that is).

FILE > SCRIPTS > LOAD FILES INTO STACK...

Doing it this way, photoshop will automatically stack them all up for you and mask them out too if you so desire.


The lazy way..

Now that we've got the whole car lit up as a whole.. the next part is to do subject isolation. I opt'ed to remove the background and just go pure black. To accomplish, i simply made a black layer and then masked out what i didn't need.


Blacked out

Now that we've finished fixing the picture, next is to edit and finalize. For editing.. the only real corrections i made were done to the tone/contrast/color via auto tone, auto contrast, and auto color. In addition, minor color desaturation and that's it!

The look i'm going to go for is simple and clean with a strobe flash going off in the background. In order to add a pseudo flash into the mix, i made a duplicate layer and cropped to make the picture larger than it's original size. Fill with black and use the FILTER > RENDER > LENS FLARE > 105mm PRIME tool and get a flare that looks relatively decent. Doing it this way doesn't make the flare an over bearing eye sore. Crop it back down to size when you're satisfied and tone down the intensity through either layer style or opacity. 

NOTE - I know doing it this way will lead to loss of data, but it's a risk you're going to have to take.


Faux.. i know. Relax.

Alternately you can always leave out the flare which is why i've done it in a separate layer labelled "flare". If in the future.. the client doesn't like that added touch, then the layer can be hidden and the flare disappears.


Check it out on flickr!

See! Not so bad, right? Any questions? Feel free to comment!

Monday, October 15, 2012

Sample Edit 10/15/2012

SUBARU IMPREZA WRX
Finalized Version

Raw sample

So here's an example of what post-processing in photoshop can do to a photo. Recently i got the opportunity to shoot my cousin's GD WRX and this is just one of the shots from the set. First thing's first.. what do we start with? First thing we should do is evaluate the .RAW file and see what we need to work on. 

 Raw file
 Alright, so looking at the .RAW we teaked a bit of blacks and fixed lens warp and imported it in to CS5. First area we need to look at is the area circled in RED. This fix can be complicated if we make it complicated, for now we'll leave it alone and focus on the second area. Note the area circled in YELLOW. Upon closer inspection, you'll see numerous rock chips that need to disappear. For the job at hand, we'll use the clone tool and clone out all the major chips on each body panel.
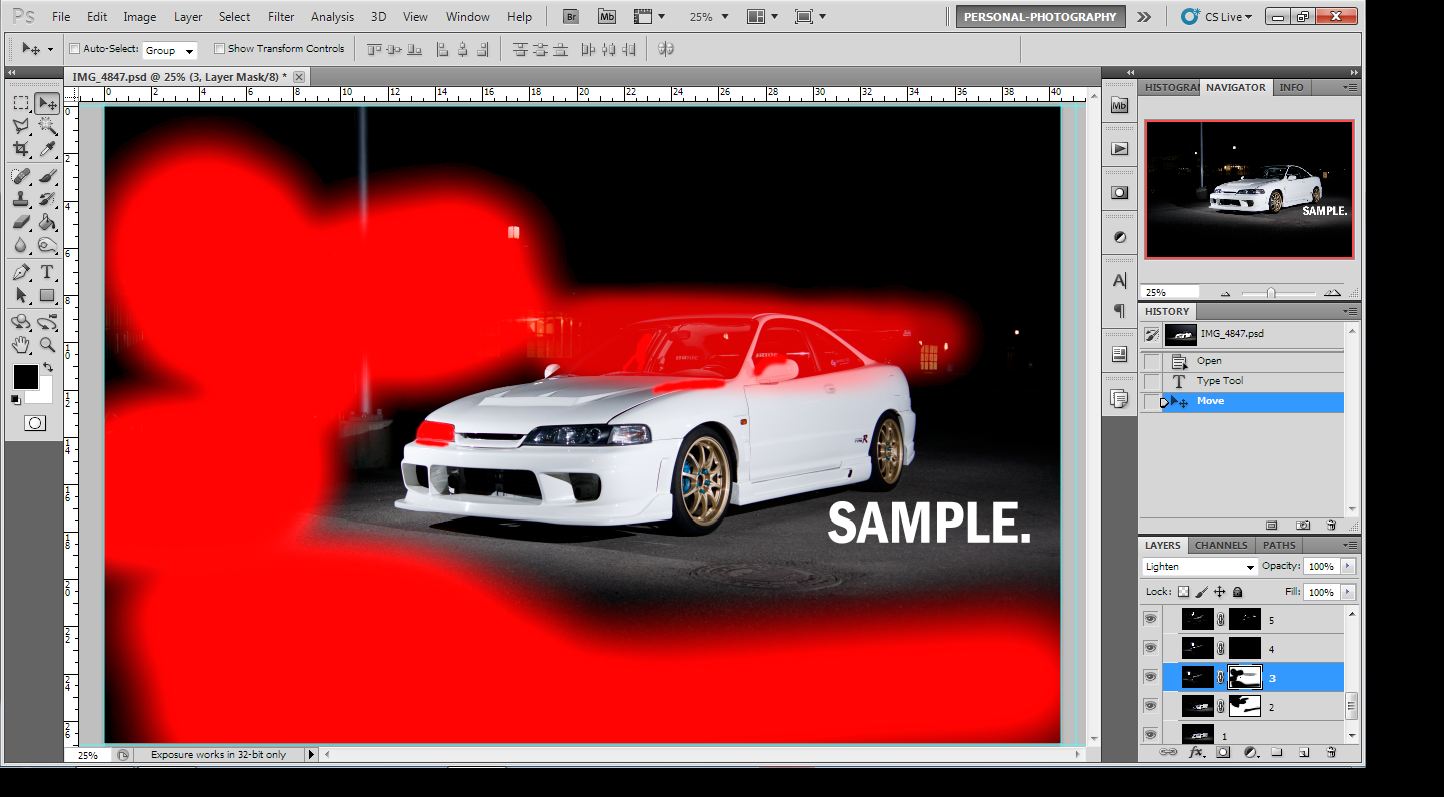
The game plan

Since i'm OCD and i need to organize every little detail (haha), i made a duplicate and made folders labelled "FIX" and "EDIT". "FIX" being the layers used to remove and add details (in this case, the rock chips). Whereas the "EDIT" folder is the folder that holds all the layers that tweak the picture style itself. More of this will make more sense as we progress further. The order i chose to progress is to remove the rock chips off the fender, bumper, lip, head light, and hood. Afterwards, removing glare and my own reflections off the hood and bumper. Third step is to remove the reflections given off by the light source (YN-560 w/ umbrella). Last, but not least, to remove the rock chips off the area fixed in step three.

To remove the rock chips.. we're gonna use the clone tool. For those of you experienced enough with photoshop may already know this. Holding the ALT and right-click on your mouse while using the clone tool, you can easily decrease/increase the size of your brush by moving left/right with the mouse. Later on, it's better to personalize photoshop to your liking, by changing the hot key layout and so on, so forth... as it makes your life easier and makes you much more efficient. This applies especially to the pen tool.

Steps 1-6

  1. Composite layer, with rockchips, reflections, and nasty glares removed.
  2. Autotone/Autocontrast/Autocolor AKA "Auto'd" layer. Using IMAGE>AUTO.. we can easily fix miscellaneous things like tone, contrast, and white balance.
  3. Curves/Exposure layer, playing around with the curves and exposure, we can brighten up the picture a bit and bring out a bit of that color in the headlight and side marker.
  4. Line desaturation layer, using the sponge tool at roughly 65% opacity, the yellow was made more mild.
  5. Desaturation layer, using IMAGE>ADJUSTMENTS>VIBRANCE.. i toned down the colors and saturation a bit to the whole picture.
  6. Psuedo bokeh layer, using a duplicate i used gaussian blur and blurred the ground ever so slightly, removing the blurred area from the car and made the layer opacity to about 60%. Using the dodge and burn tools i managed to make the concrete "pop" just a bit more. 
Last layer that needs to be put on top is the sharpening layer, which i use to slightly make my photos stand out once in a while. In order to do this, make a duplicate of your final edit and go through, FILTER>OTHER>HIGHPASS and set it to 10.0. Afterwards, change the layer style to SCREEN and opacity to about 18%. The max i recommend EVER, is 25%. Too much is not good and make your photos look way too sharp and ugly upon closer inspection. 

... and thats how i do it! Again, i apologize for the tacky figures but its the best one can do for now.

P.S. Keep in mind that you can go in multiple directions with each shot.. this is just how i happened to do this one.

Enjoy!